A portrait is a
painting,
photograph, or other artistic representation of a person. Portraits are often simple head shots or
mug shots and are not usually overly elaborate. The intent is to show the basic appearance of the person, and occasionally some artistic insight into his or her personality
According to
Peter Marshall, a portrait is not simply a picture of a person. One can photograph a person and be interested in the way light falls on the different surfaces of their face or body, or the various colours of their skin and clothes, or the particular design of the tattoo on their chest. None of these is really a portrait.

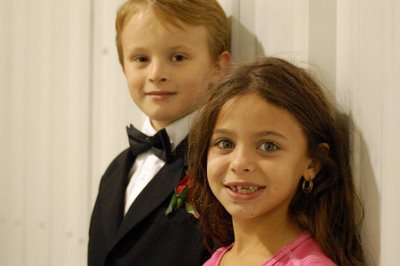
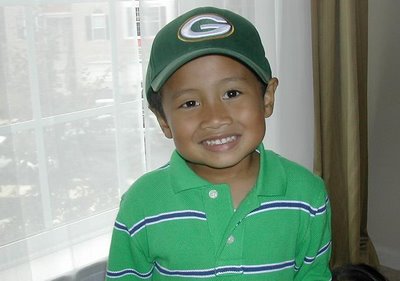
Nathan, a Redskins fans (showing his sympathy for my Packers. After making fun of me, that is. So I made him wear my hat)
What makes a photograph into a portrait is the intention of the photographer to disclose something about the character of the person they are photographing. If you are trying to convey something about a person's nature in your photographs you are making a portrait; if you are simply describing them you are perhaps photographing a still life that happens to be in human form.
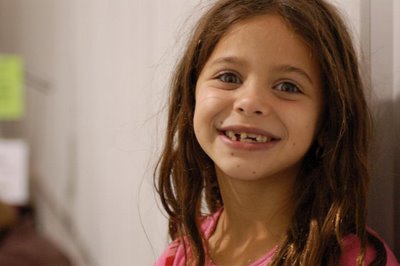
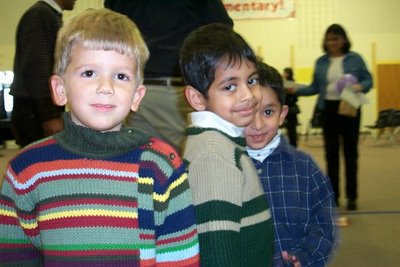
Amanda, telling me about her dreams (to be a figure skater)
Standard settings for portrait photography:
Focal lengths
The most useful focal lengths if on a 35mm equivalent are from 28-105mm:
28-35mm: Groups, interior shots.
50mm: Small groups, full-length pictures
85-105mm: Great for close-up and big close-up shots of heads.
Save your longer focal lengths for nature pictures, sporting events and concerts and rallies where you need to photograph people on distant stages. For most people pictures you want to work as close as possible. Zoom lenses are fine for people pictures, but generally single focal lengths will give you wider apertures, useful for using selective focus or working in low light.
Shutter speeds and exposure
If people are walking, talking, gesturing - anything other than posing or sleeping or otherwise keeping still, you will get more usable pictures at speeds of 1/250 or greater. If you ask people to pose, then your movement becomes the problem. Unless you are using a tripod, the 1/focal length rule applies: - for a standard 50mm lens use 1/50 (or 1/60) as your slowest speed.
 I told her, she could be a hockey player instead
Zone Focus
When working with a wide-angle lens, set the distance to roughly what you need (perhaps 1.8 metres or 5 foot) and check on the depth of field scale on the lens to find out what distances are covered by depth of field. Auto focus sometimes focus on the distant background rather than the subject you want
Lighting and Flash
Flash on camera - including built-in flash - is most useful when working in bright sun to put some light into the shadow areas. Some cameras allow you to adjust the amount of this fill in to get the effect you want - it is rather easy to overdo the effect.
Using natural or available lighting means learning to look at what light is doing to your subjects. Generally for most people pictures you will want to be sure that faces (and eyes in particular) are not in deep shadow. Working in overcast light is often easier than in bright sun, where you will often need to use flash to fill in, bringing the shadows closer to the lit areas.
© Sidarta Tanu

 Red Rose
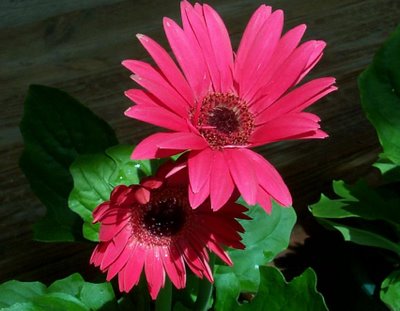 Pink Gerbera (with sunlight and shadow)
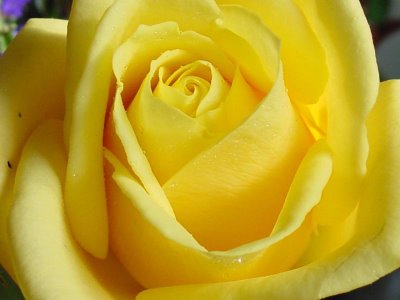 Yellow Rose (close up/macro)
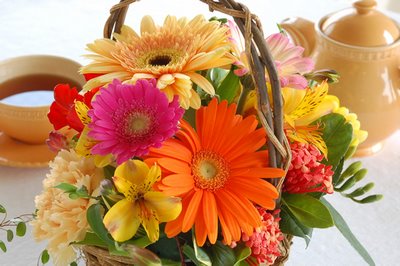 Colorful Gerbera
 Bokeh Mickey